21st Aug 2024
How to Make a Festive Floral Chandelier
How to Make a Festive Floral Chandelier
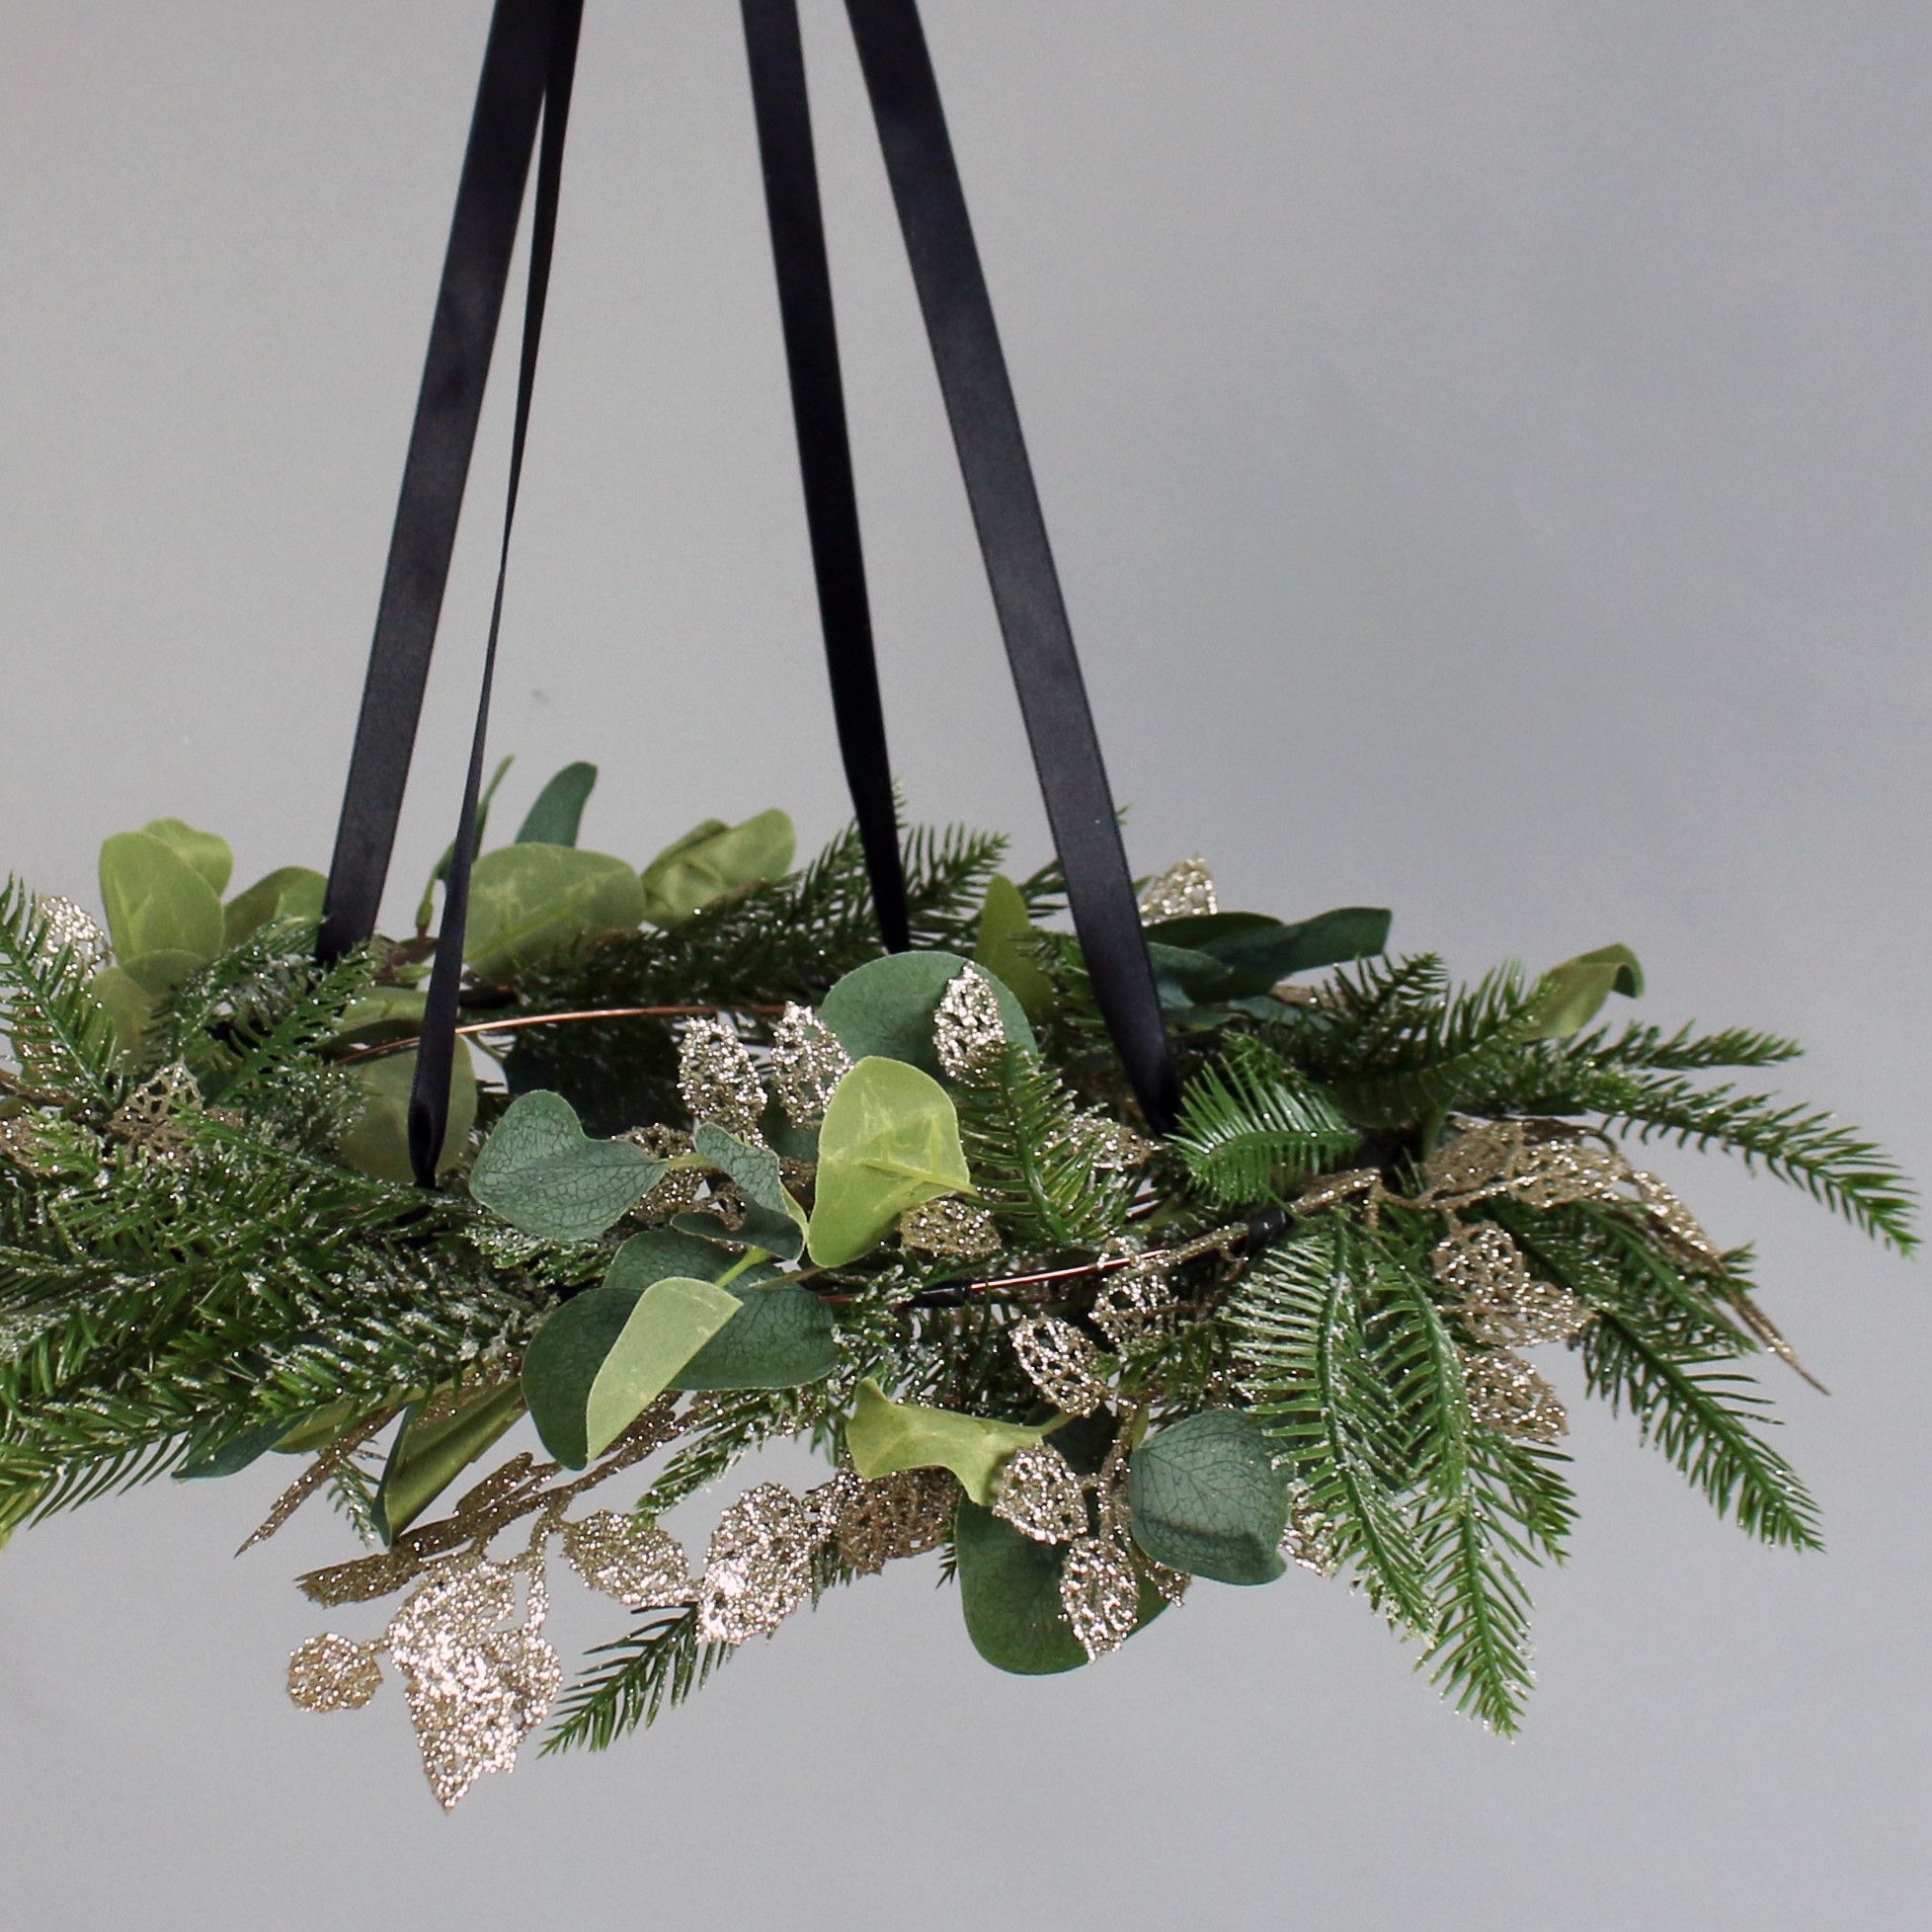
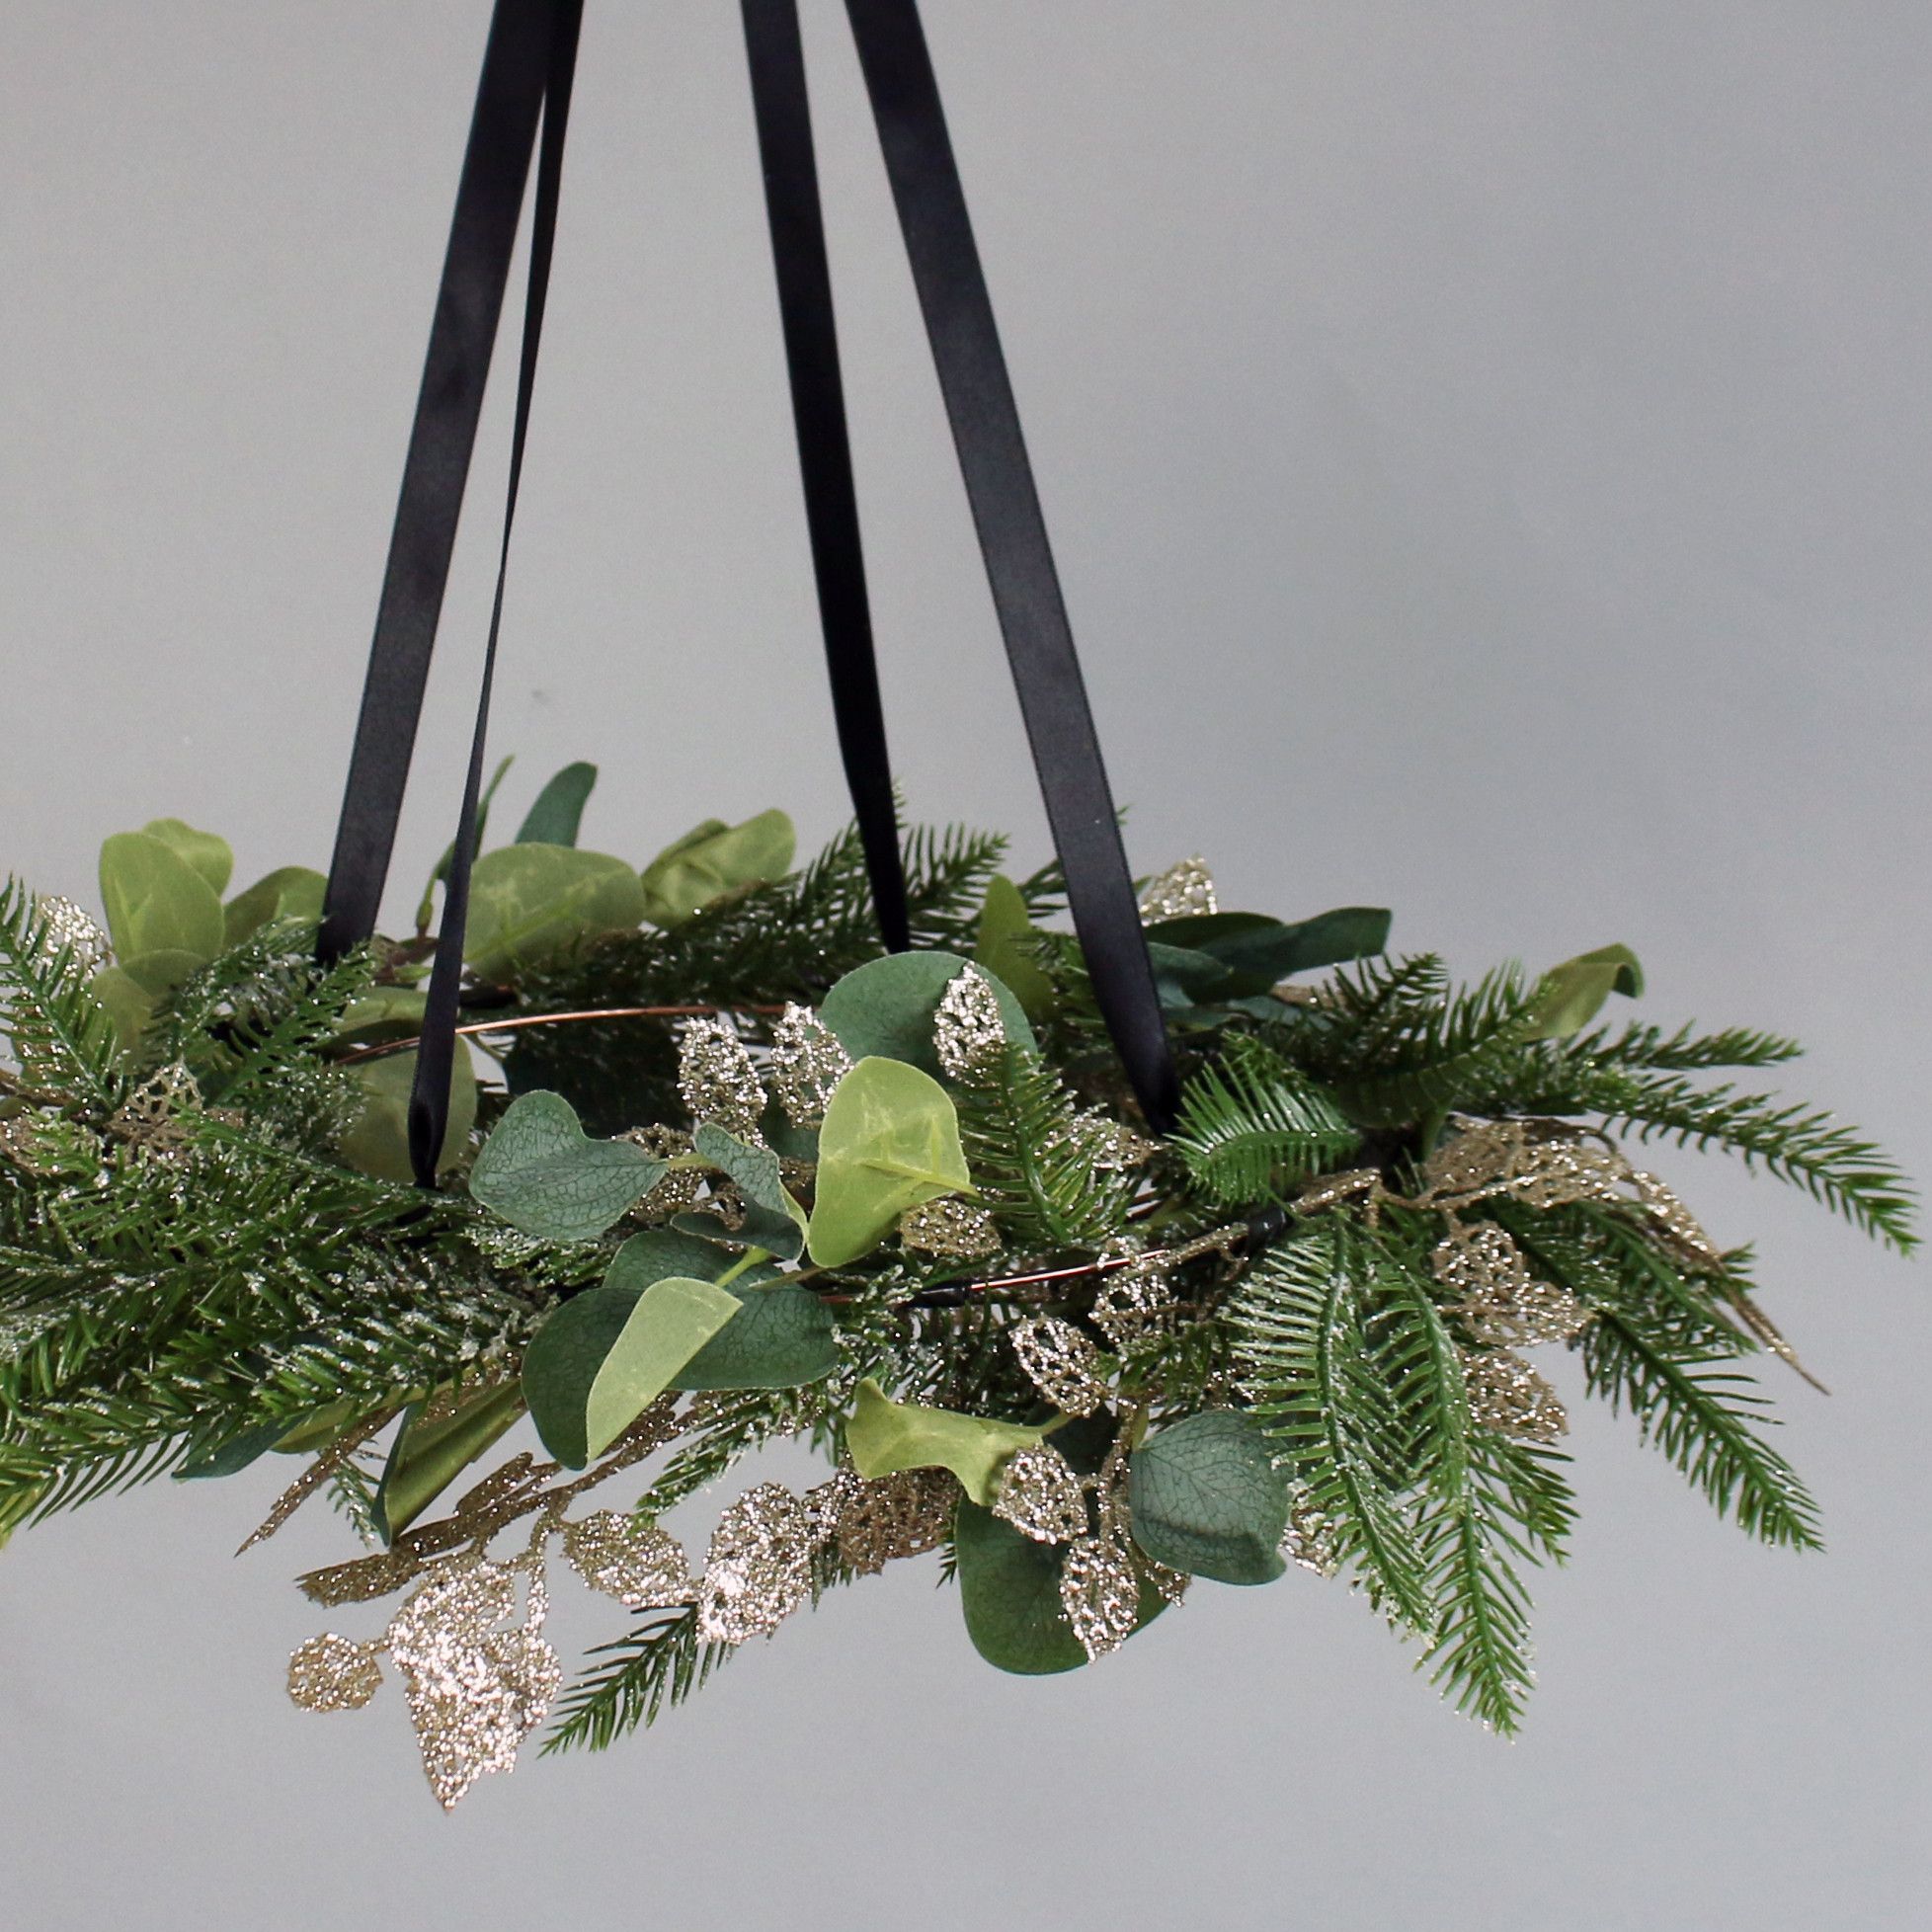
We've been loving the new floral chandelier trend, so we've created an easy step by step tutorial on how you can create your own.
Floral chandeliers are similiar to wreath making, except you can hang these above your dinning table or hallway during Christmas time. They look absolutely beautiful and they're so easy to make!
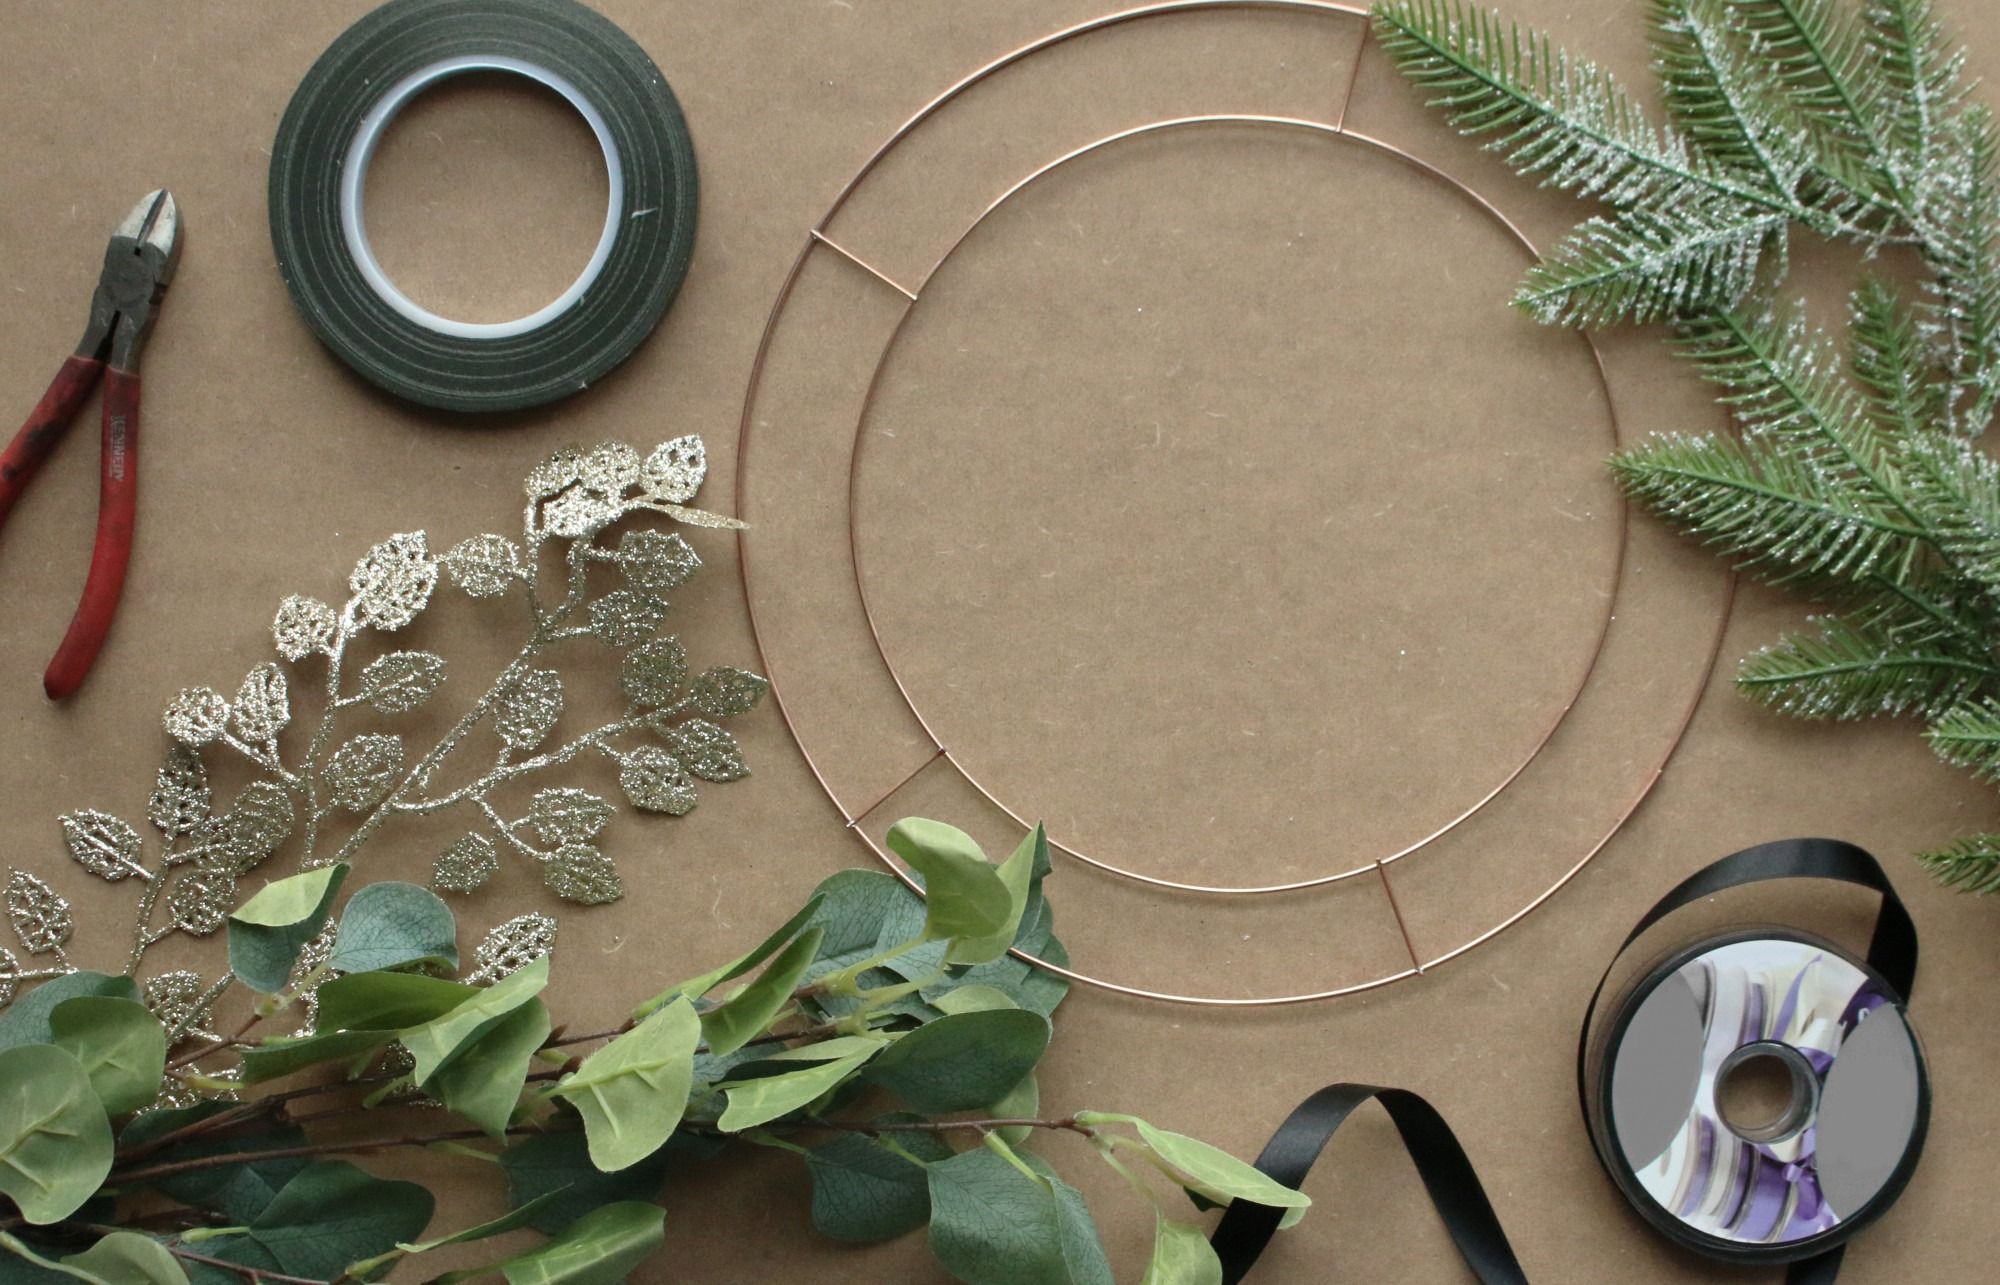
Get started by ordering your items:
- Floral tape
- Flat wire ring
- Articial greenery
- Artificial flower sprays
- Secateurs or strong scissors (if you don't have any already)
Order your supplies to create a floral chandelier completely personal to you. You can select your favourite greenery and flower stems to create a floral chandelier of your own.
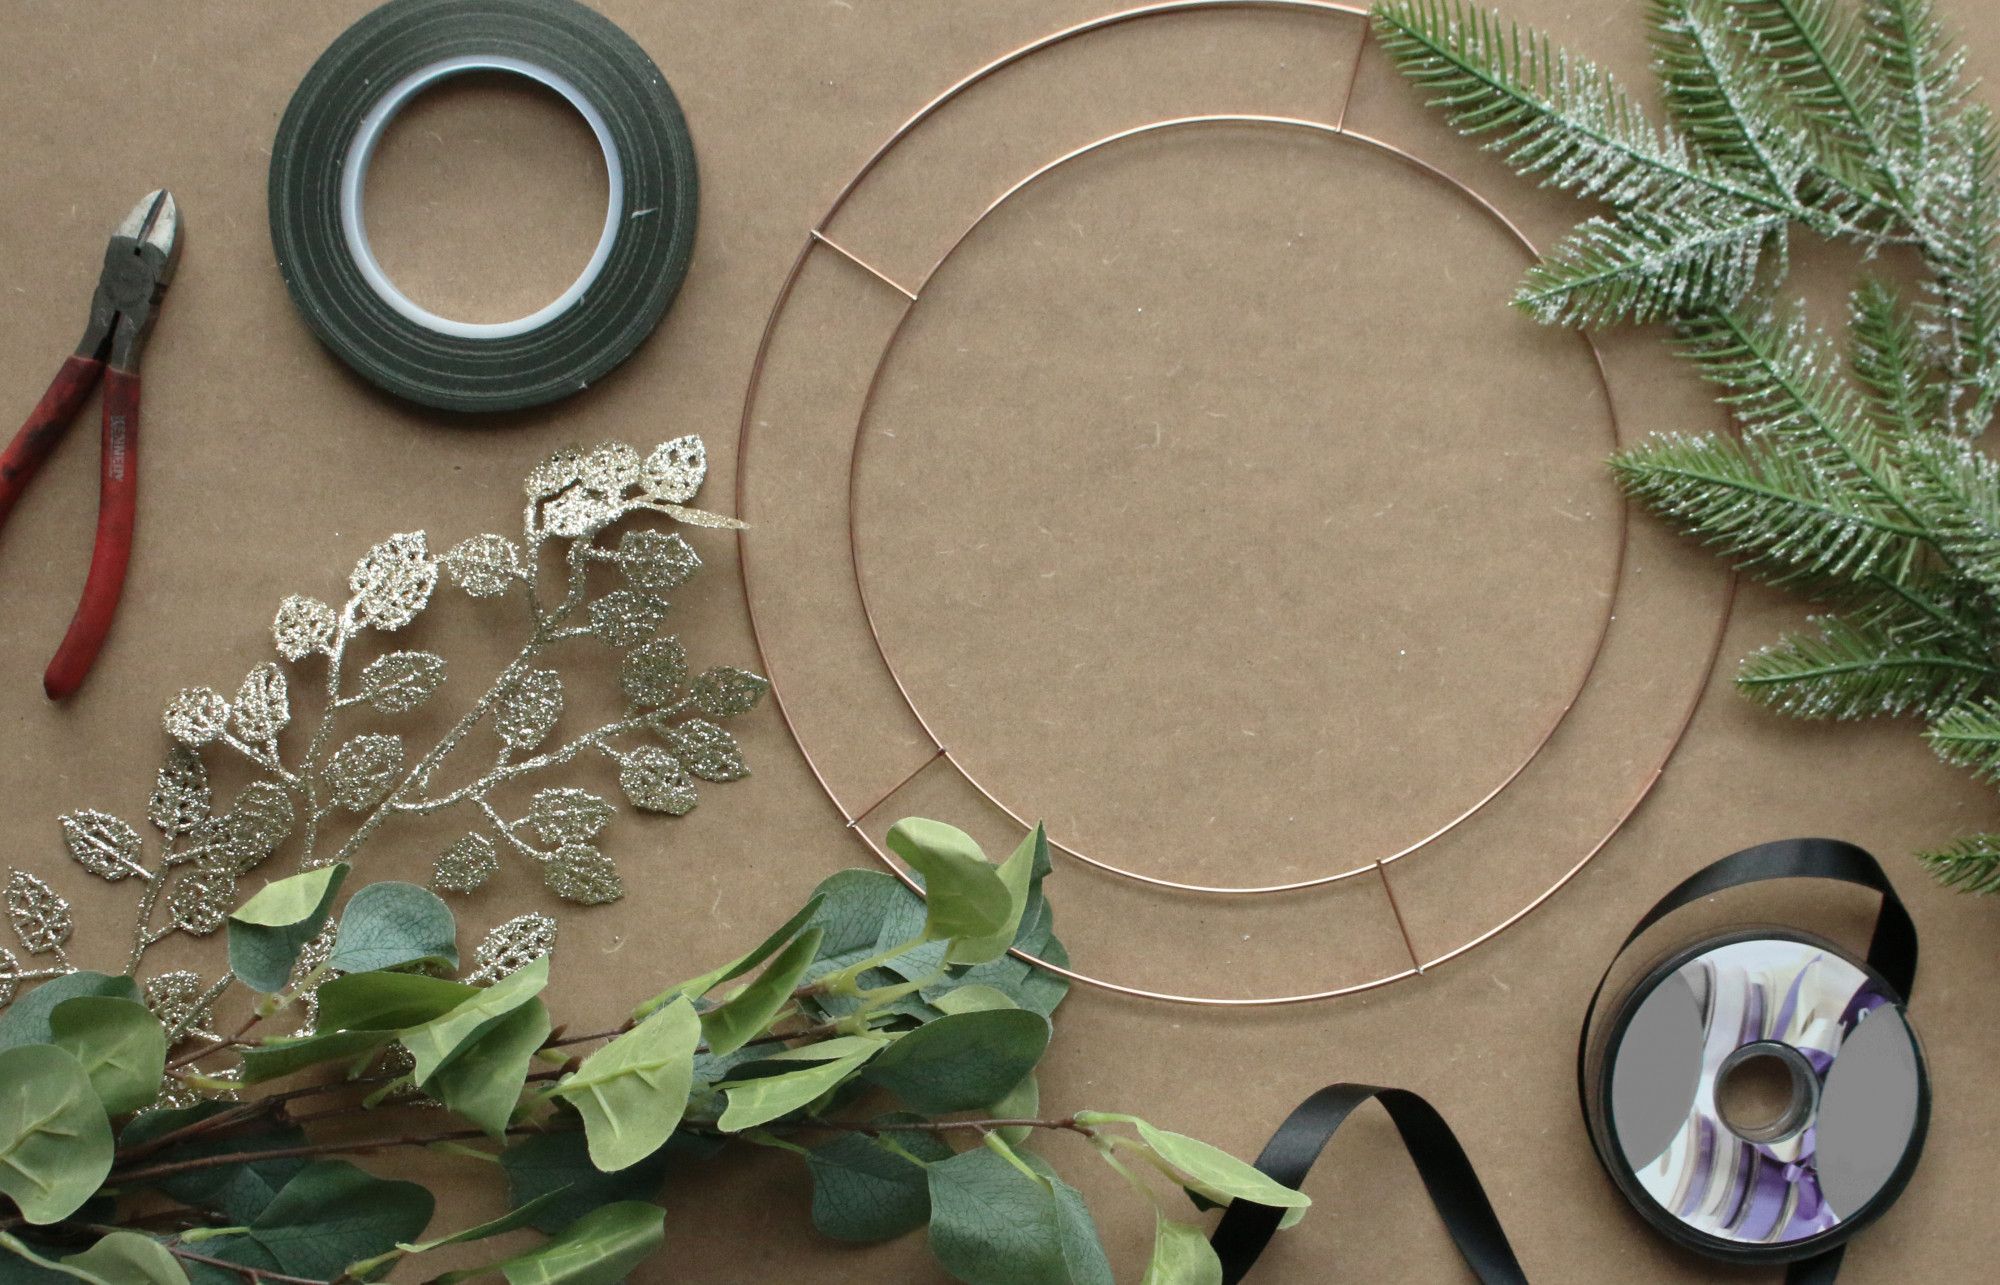
Items that we've used:
- Floral tape (12mm x 50m)
- Flat wreath frames (12inch)
- Pine greenery garland (180cm)
- Eucalyptus x 2
- Glitter leaf spray x 4
- Black satin ribbon (15mm x 20m)
If you're unsure, here are the supplies we used. This floral chandelier took us around 30 minutes to make.
Step 1.
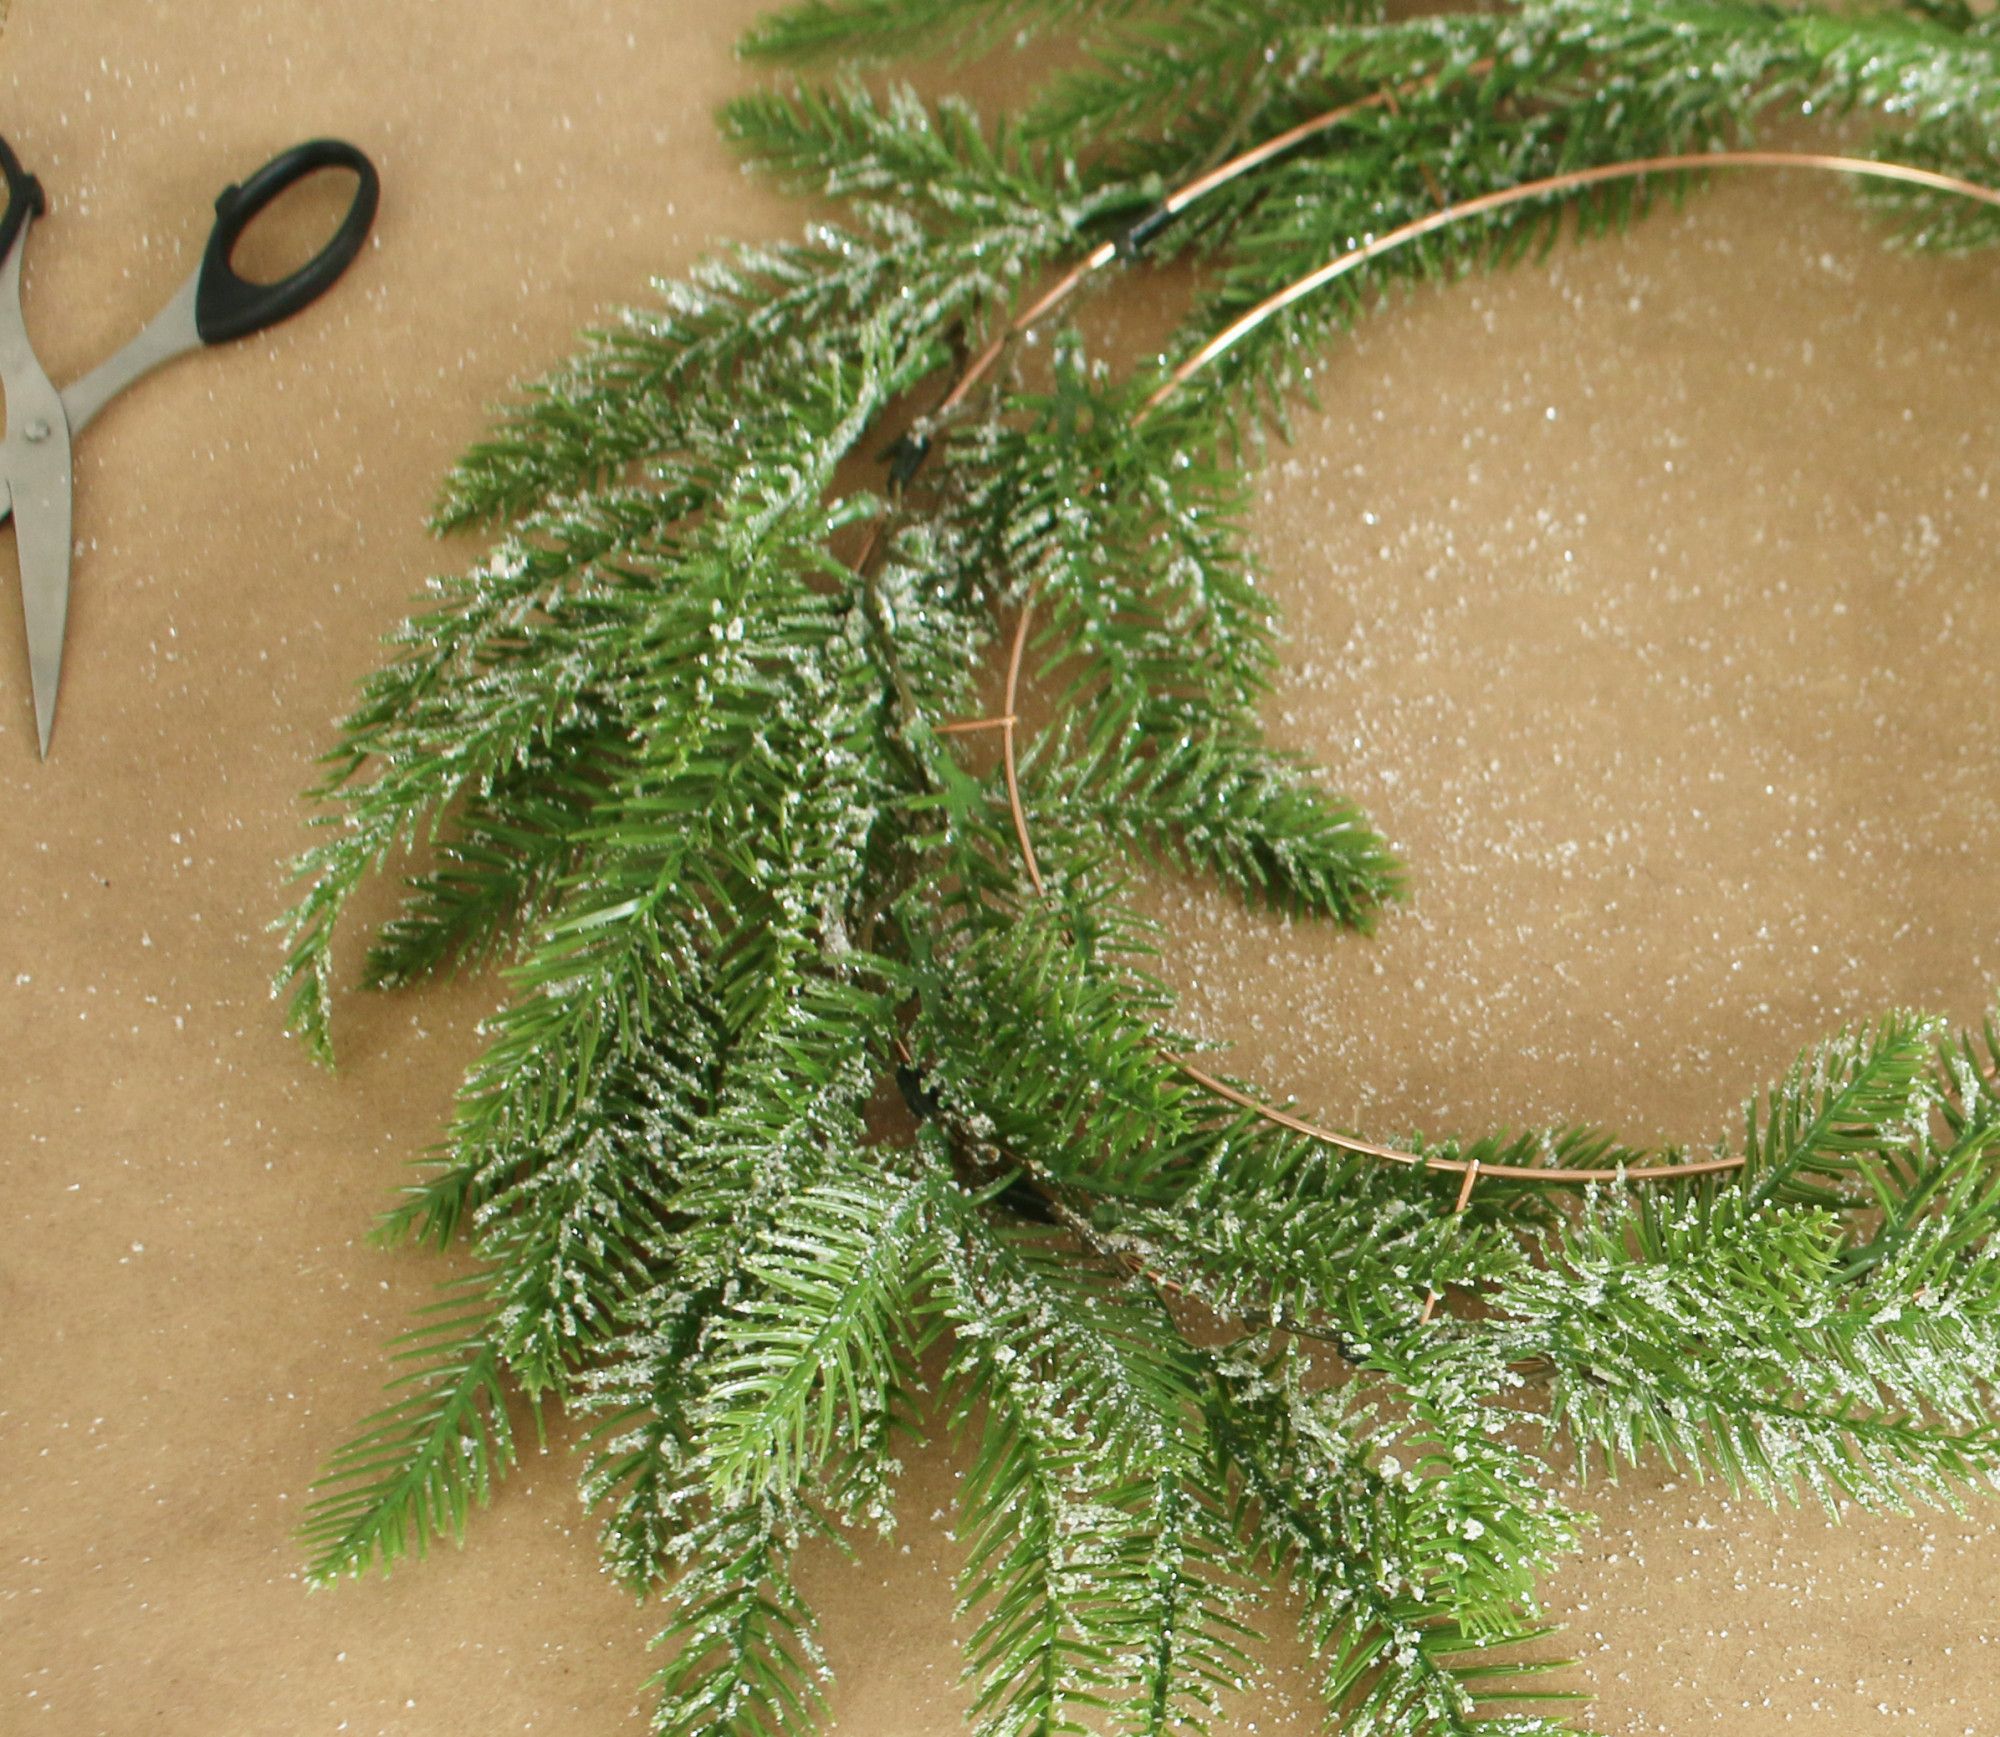
Once your items have arrived, make sure your workspace is ready and clear. If possible, make sure you have a hard flat surface to make sure all excess glitter can be cleared up easily. We've used a thick cardboard pannel as a surface.
Step 2.
Cut your pine garland into small sections and attach them sides of the wireframe. Secure the pine garlands into place by wrapping with floral tape.
Step 3.
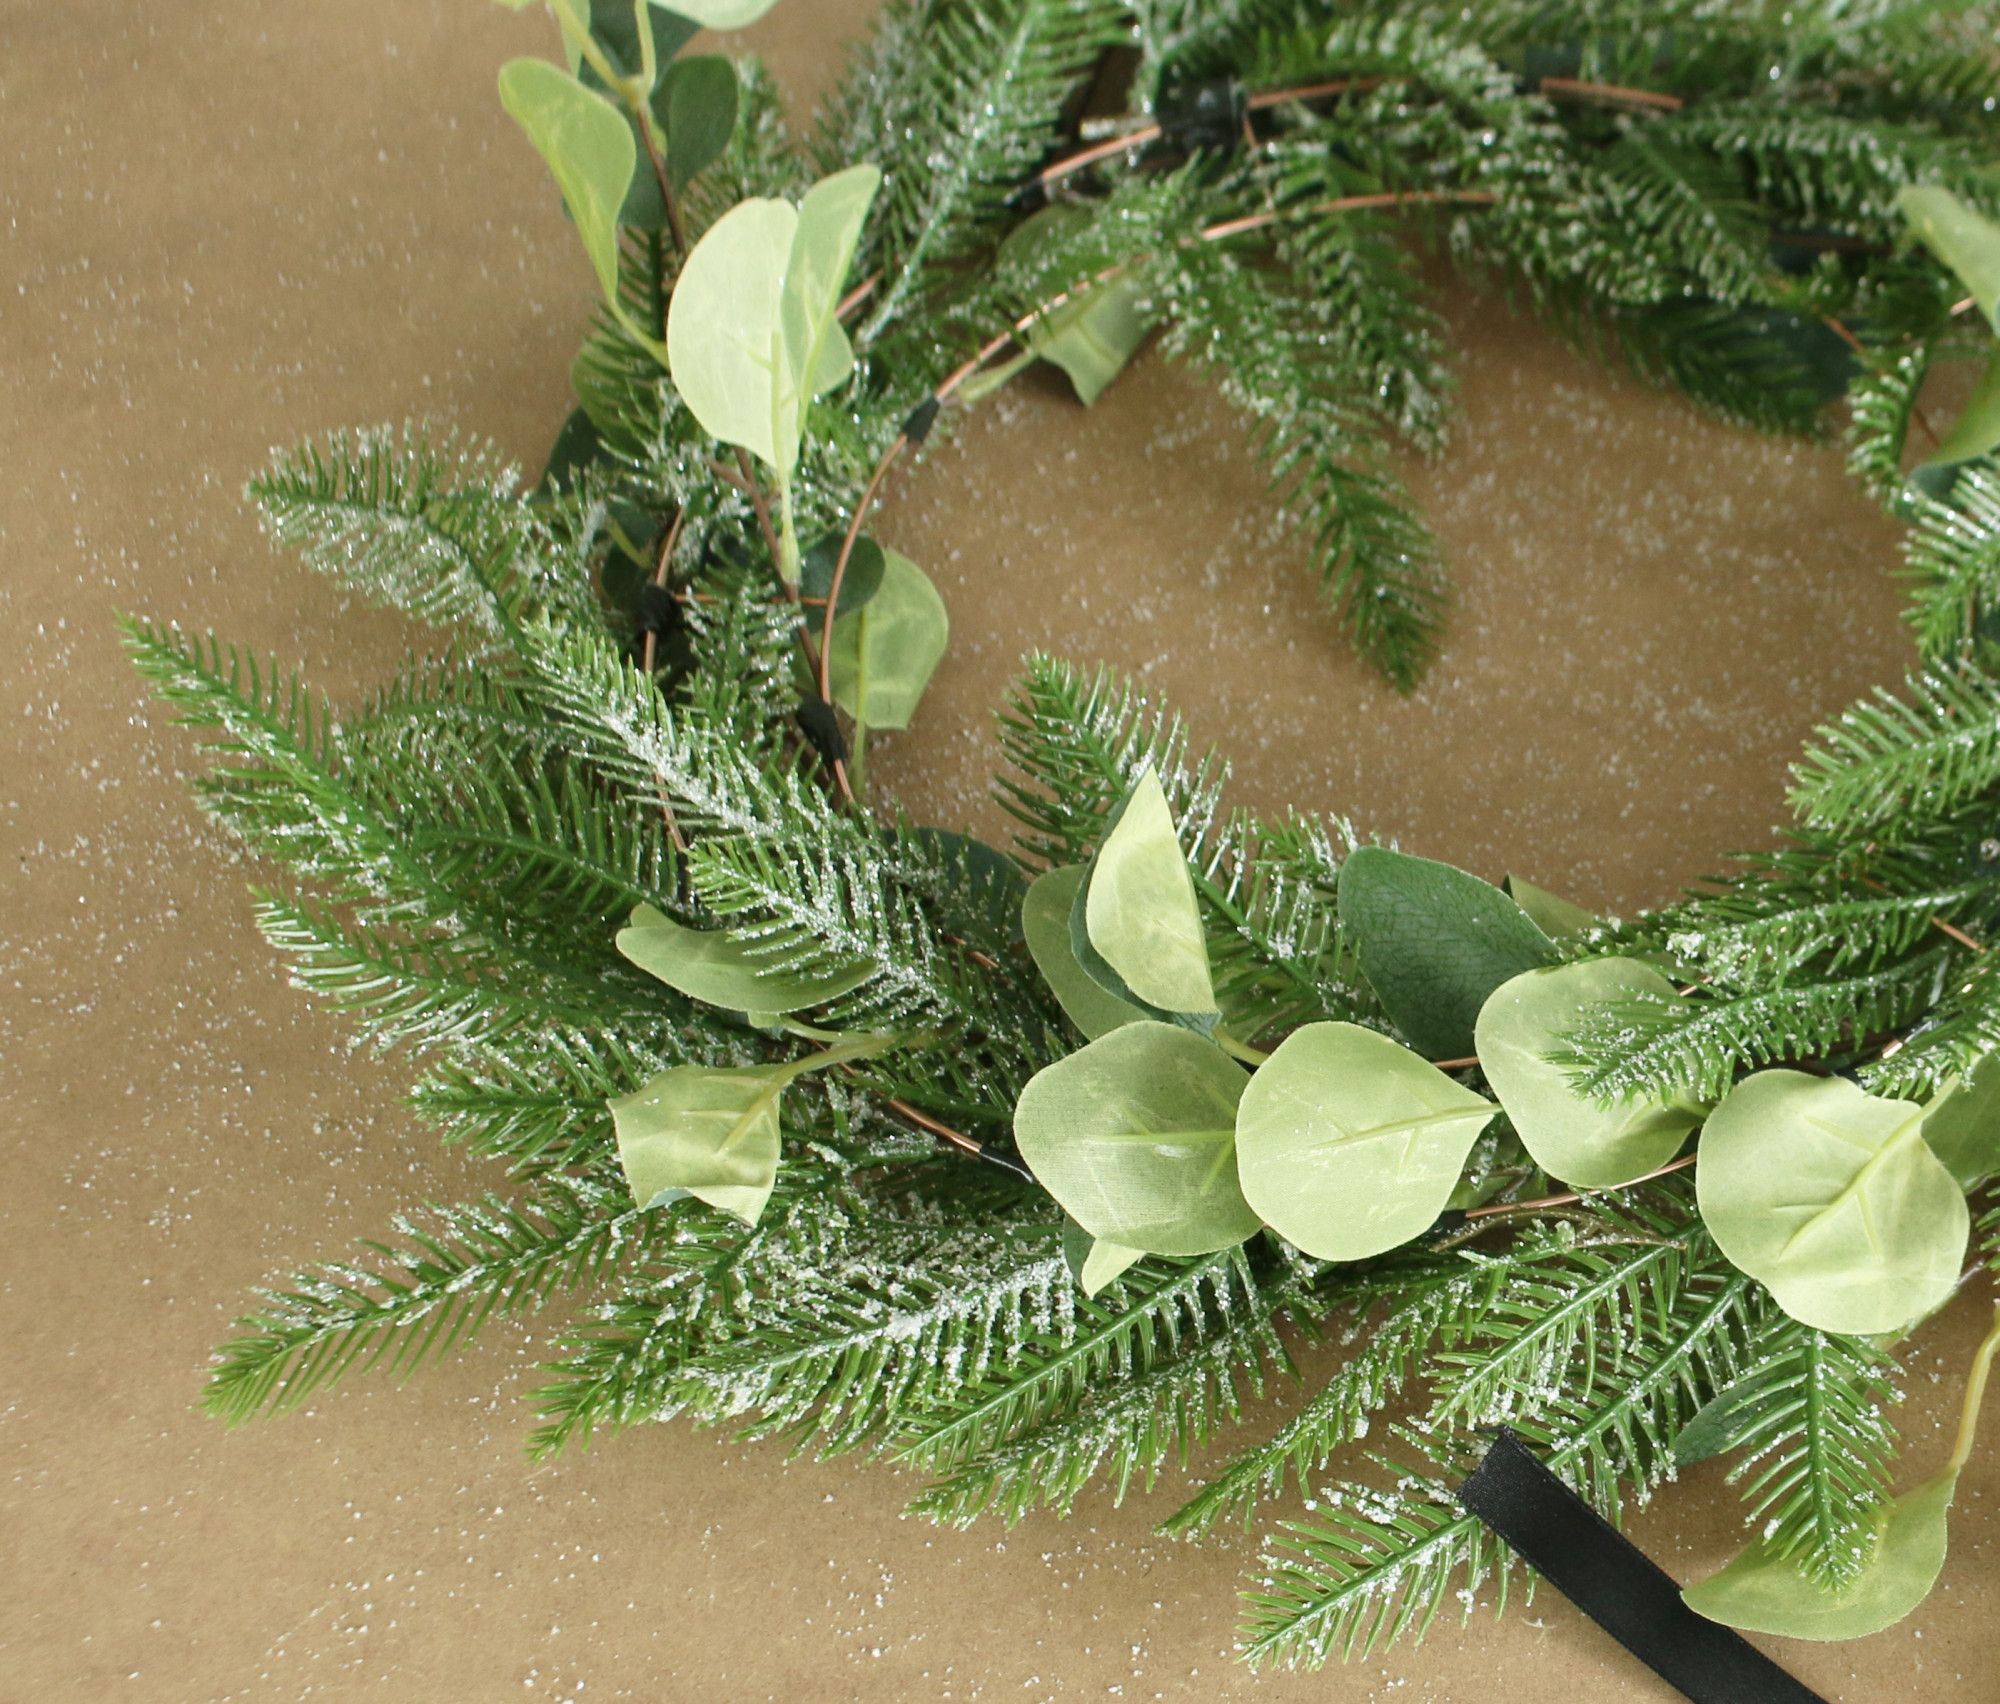
Once you have attached your whole pine garland to your wire frame, cut your eucalyptus into small stems and attach them to the frame using floral tape.
Step 4.
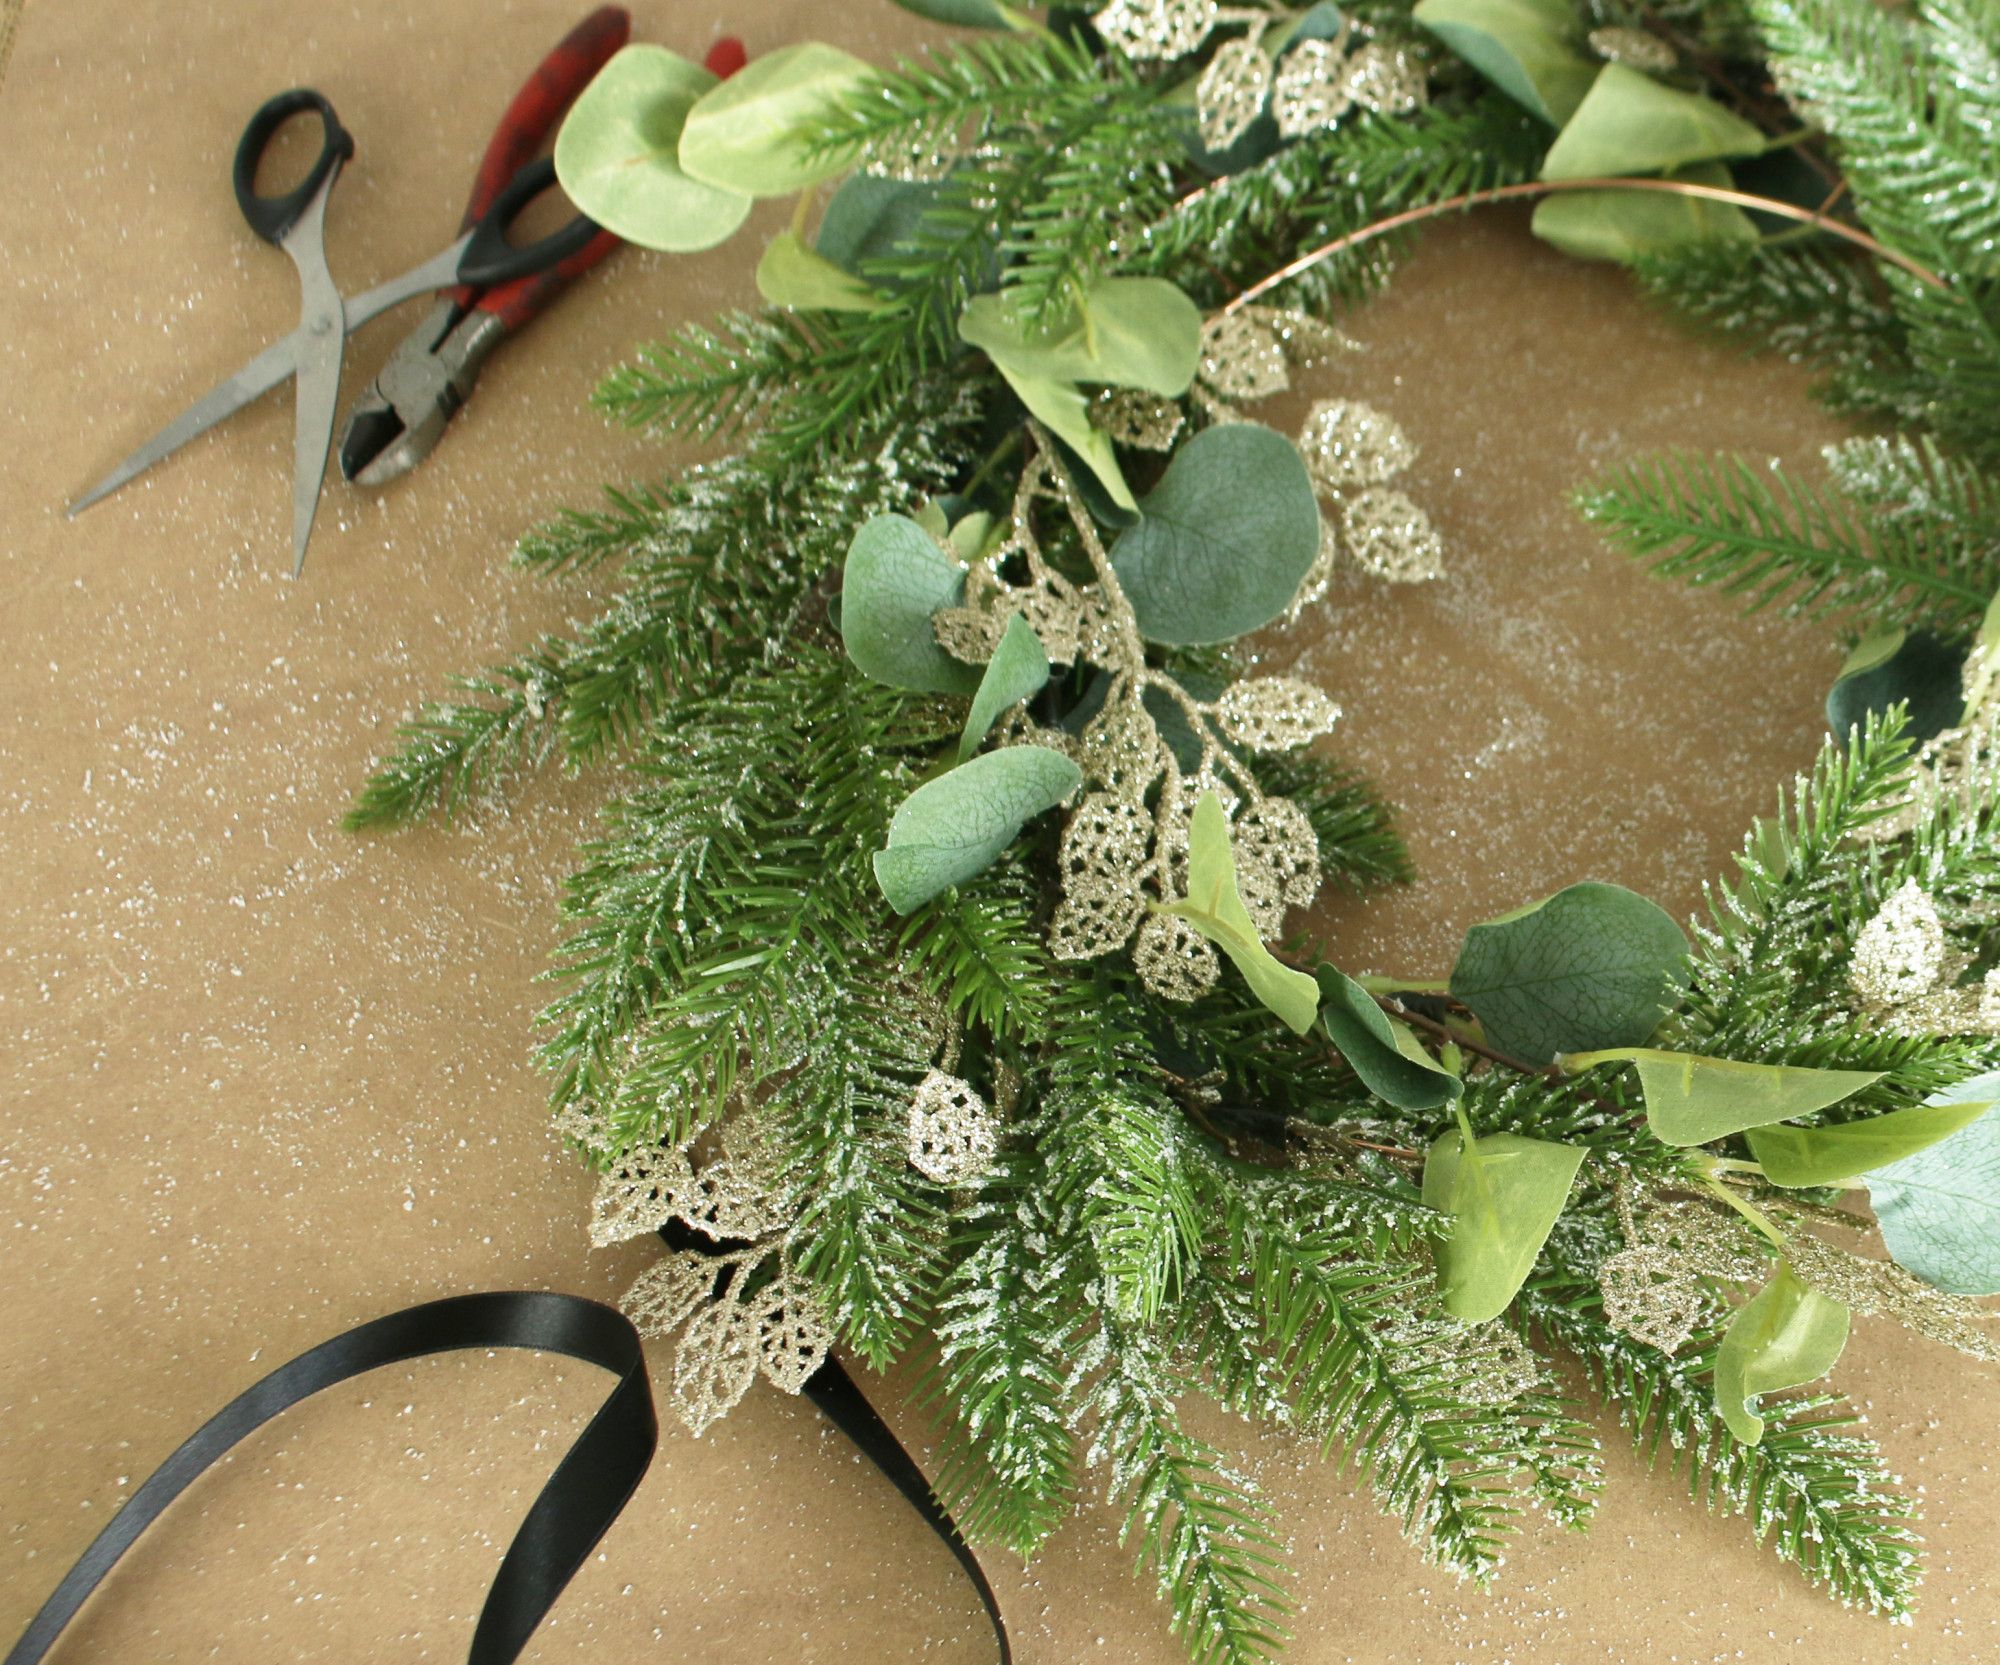
Then cut your gold leaf sprays into small stems and attach to the wire frame with floral tape. This can be fiddley. You can use the inner wire ring if there is no space on the outer ring.
Step 5.
Make sure the arrangement is even on all sides by pulling the leaves into shape. Remember you will only be able to see the outside of the chandelier not the inside so try and make sure the leaves are facing outwards.
Step 6.
Tie the satin ribbon to the inner ring behind the leaves. The ribbon should be lined up correctly for the ring to hang flat so make sure the ribbon is at an equal length at each side.
Step 7.
Tie the ribbon to the inner sides of the wire ring. Asssure the ribbon is secure by tying the ribbon with a strong grip.
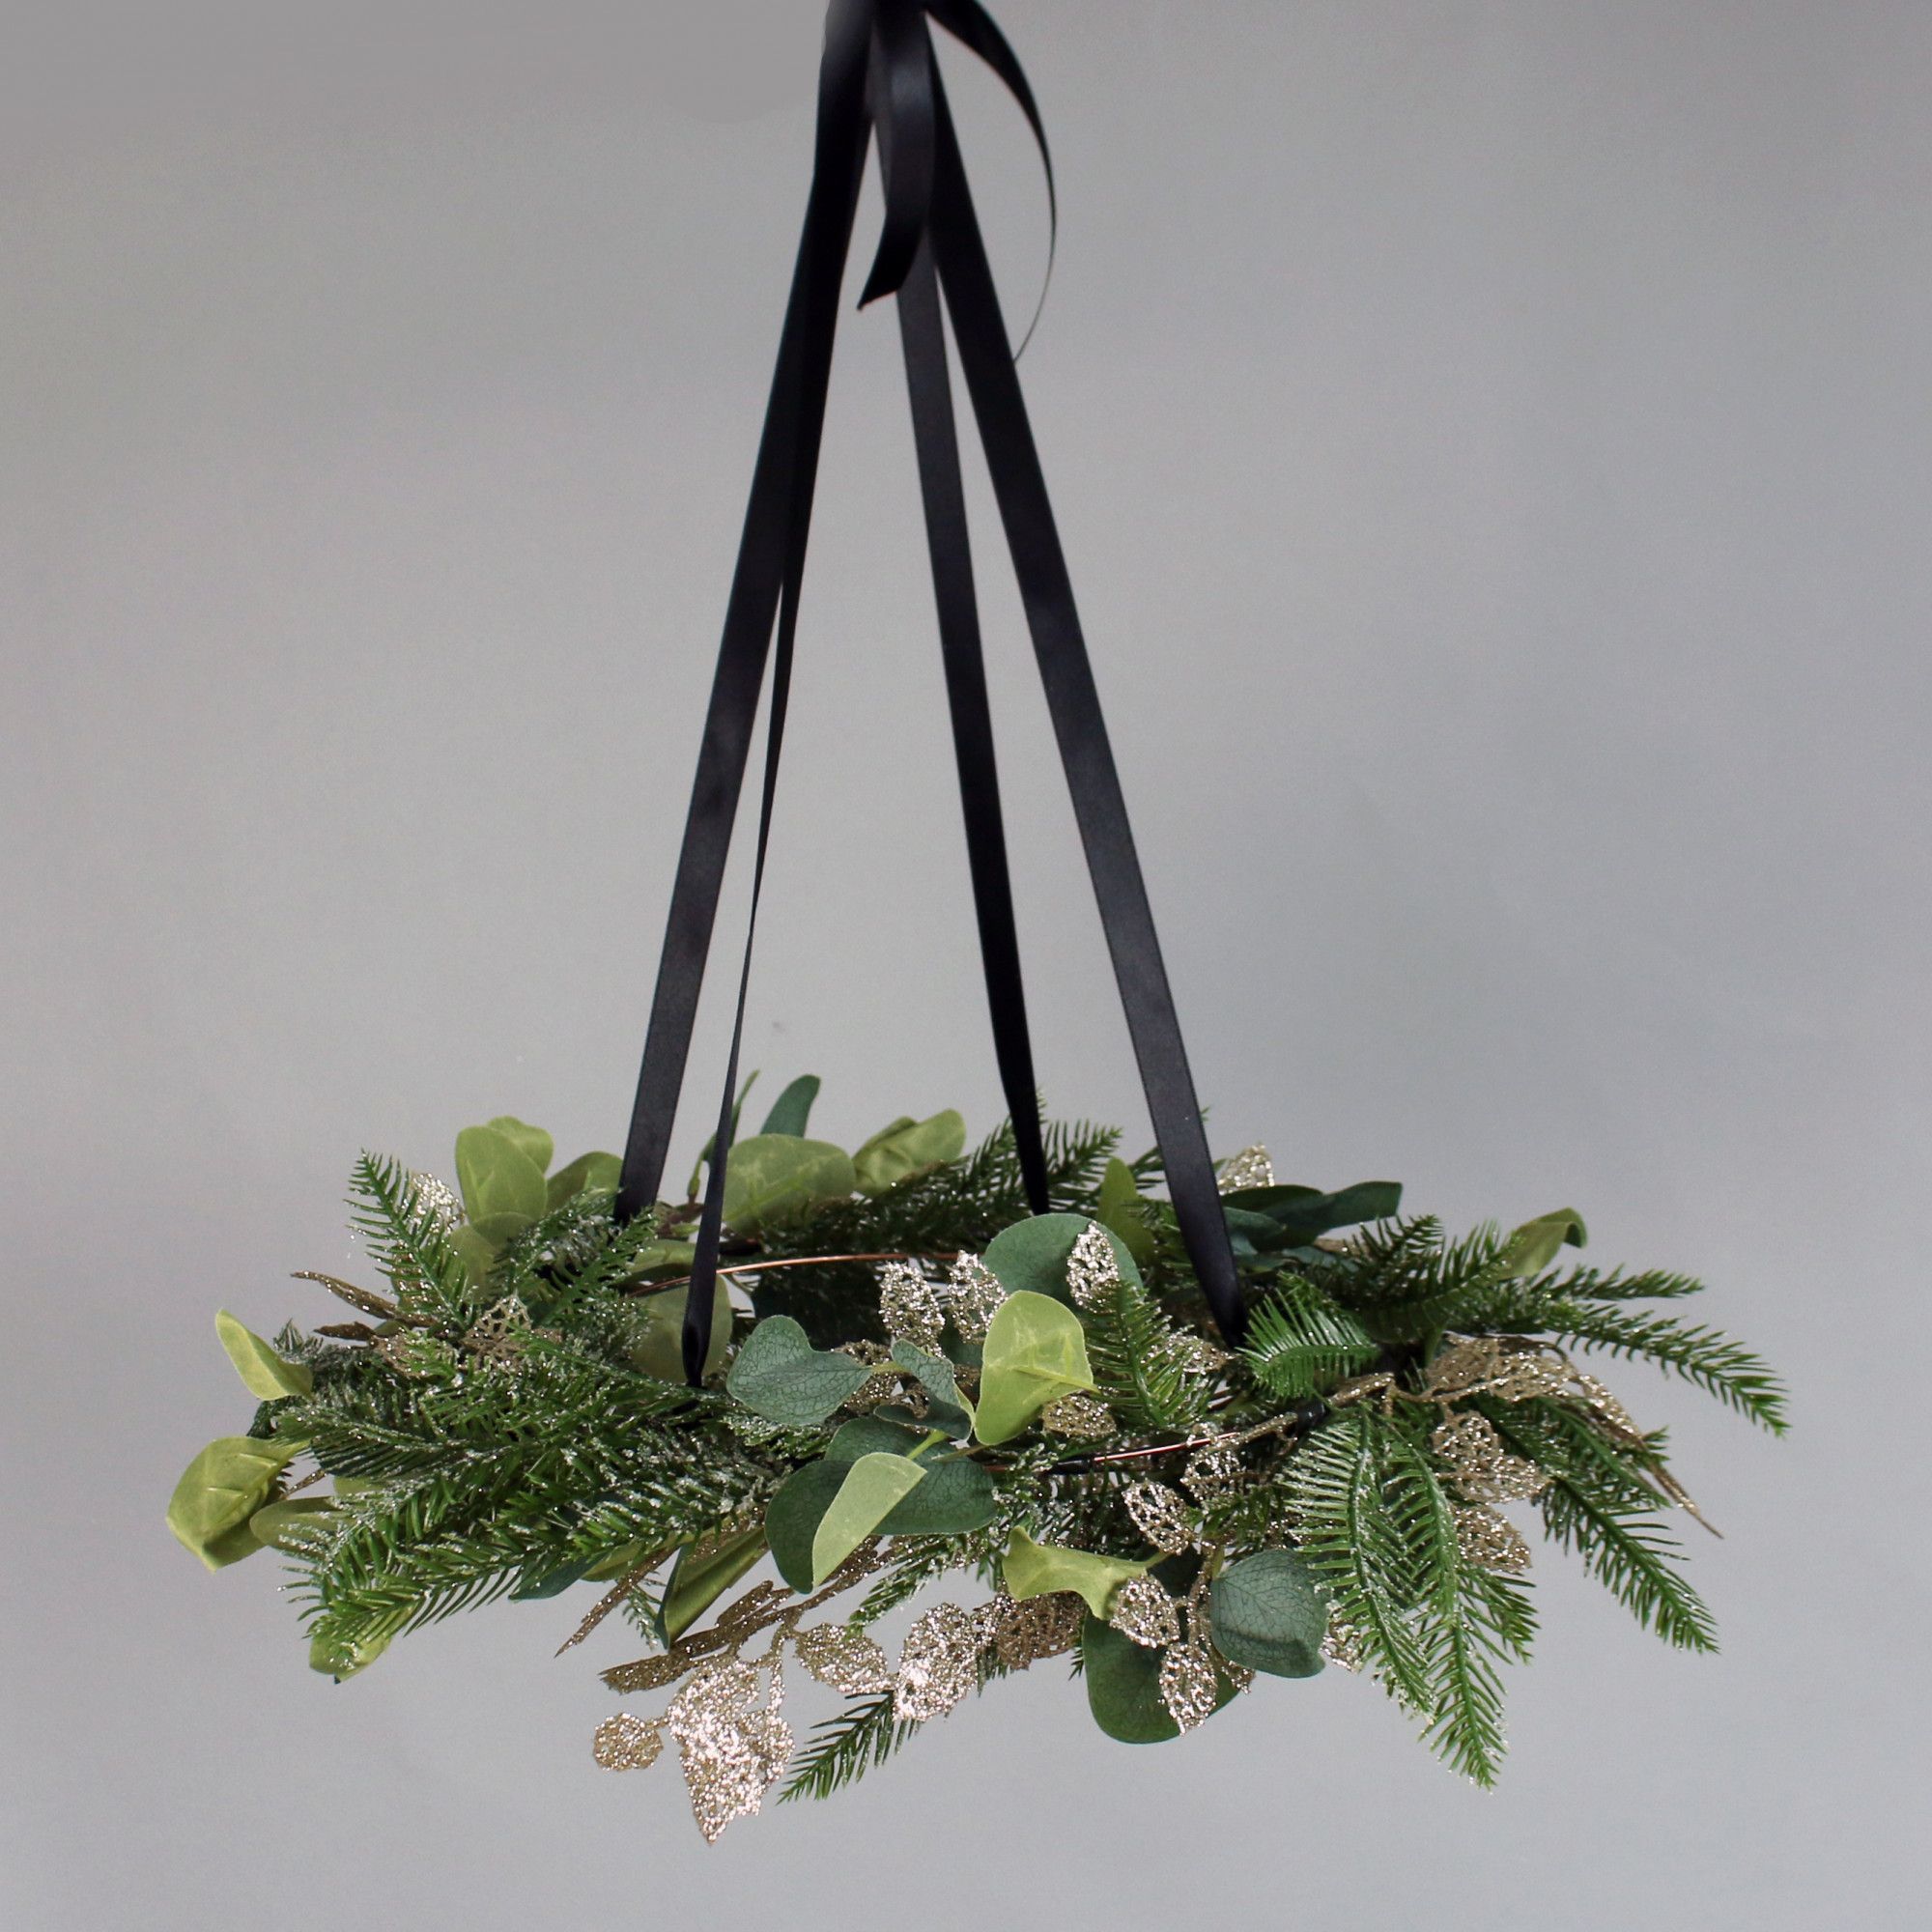
Your Chandelier is finished!
These look beautiful hung up in your home, especially above the dinner table or in the hallway during Christmas time.
